As I mentioned previously on my Frequency Modulation Basics post, I would be taking a practical approach to explain the concept of Frequency Modulation. This tutorial explains how to install the GNU Radio on Ubuntu 18.04 alongside the GNU Radio Companion and the SDR dongle support.
Installing the GNU Radio and GNU Radio Companion
First, we can begin by installing the GNU radio package via APT, but check first if the version in the APT system is up to date. As of the writing of this article, GNU Radio on Ubuntu 18.04’s APT is on 3.7.11 and the current version is on 3.7.13.4. To simplify matters, I will use the Ubuntu 18.04’s APT version until I encounter a bug that will only be fixed on the latest version.
# apt-get install gnuradio
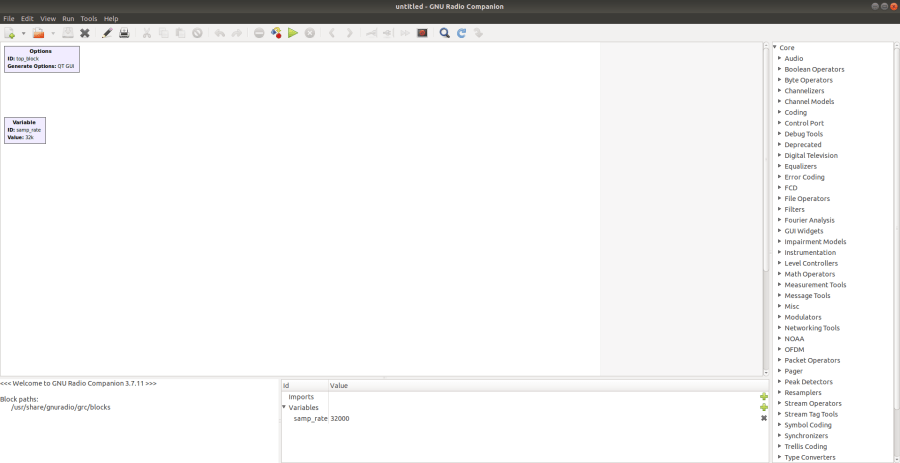
The package installation takes a while, after finishing the GNU Radio 3.7.11-10 is finally installed on the computer. You can access the GNU Radio Companion program via Terminal or via Application Launcher.
$ gnuradio-companion
Now, we can use GNU Radio and the GNU Radio Companion, the next step of this tutorial is to install the RTL SDR package to use with GNU Radio. This will allow us to receive the IQ data from RTL SDR and use the GNU Radio to process the data as we need.
Software Defined Radio GNU Radio Module
The Software Defined Radio that we will be using is the ubiquitous and inexpensive RTL2832U based DVB-T Dongles turned to Software Defined Radio. We can use the GNU Radio module developed by Osmocom. To build this GNU Radio block module, we need at least GNU Radio v3.7, which is already installed via the Ubuntu APT.
We can install the GNU Radio Osmocom SDR module from the git repository of osmocom or via the github mirror. Before installing the GNU Radio Source, we first must install the RTL-SDR driver created by Osmocom for RTL2832U-based Software Defined Radio dongles.
RTL2382U Driver
First, we have to install any dependencies and required packages before we can build our GNU Radio Osmocom SDR module. The required packages are cmake and build-essential to make sure we can compile the source and install the module. We also need the libusb-1.0-0-dev for the SDR.
# apt-get update
# apt-get install cmake build-essential libusb-1.0-0-dev
Then, we have to clone the repository, save the cloned repository in the desired place, for example we can put it on the Downloads folder
$ cd ~/Downloads
$ git clone https://github.com/osmocom/rtl-sdr.git
After cloning the repository, we can begin installing first by creating the build file and compiling the source via CMake. After compiling, we can install the rtl_sdr. Use the following commands on the Terminal:
$ mkdir build
$ cd build
$ cmake ../ -DINSTALL_UDEV_RULES=ON -DDETACH_KERNEL_DRIVER=ON
$ make
# make install
# ldconfig
Make sure to have both the build options INSTALL_UDEV_RULES=ON and DETACH_KERNEL_DRIVER=ON. UDEV_RULES is needed to access the dongle as non-root user, and DETACH_KERNEL_DRIVER will detach the default kernel driver for the RTL2832U DVB.
GNU Radio Source
After installing the RTL SDR driver, we need to install the GNU Radio Source module that is provided also by Osmocom. We can also install this automatically via APT-GET since we don’t need to change any build configuration, use the following command to install the gr-osmosdr package:
# apt-get install gr-osmosdr
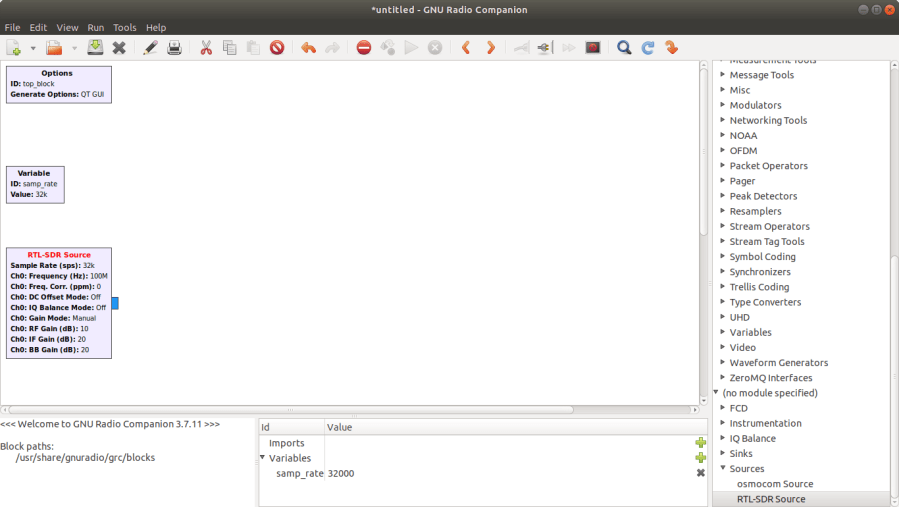
After installing, we can access the RTL SDR source on GNU Radio Companion menu under the Sources category.
That’s it for today’s tutorial, we will explore more about GNU Radio and RTL SDR when I have finished my Frequency Modulation basics series and we will demonstrate the analysis of a real narrow-band and wide-band FM wave on SDR + GNU Radio Companion.

One thought on “Installing GNU Radio for Software Defined Radio on Ubuntu 18.04”